
If you’re a fan of Crocs, you know how important it is to personalize your shoes with Jibbitz. These small, colorful charms can turn a plain pair of Crocs into a statement piece that reflects your unique style. While there are countless Jibbitz options available for purchase, why not try making your own? Not only is it a fun and creative activity, but it also allows you to customize your Crocs in a way that no one else can.
Whether you’re looking to match your Crocs to a specific outfit, show off your favorite characters, or simply add a touch of flair, making your own Croc charms is easier than you might think. In this article, we’ll show you four easy DIY Jibbitz ideas that you can try at home. From using polymer clay to creating shrinkable plastic charms, we’ll guide you through the step-by-step process of making personalized Croc charms that will make your shoes stand out from the crowd.
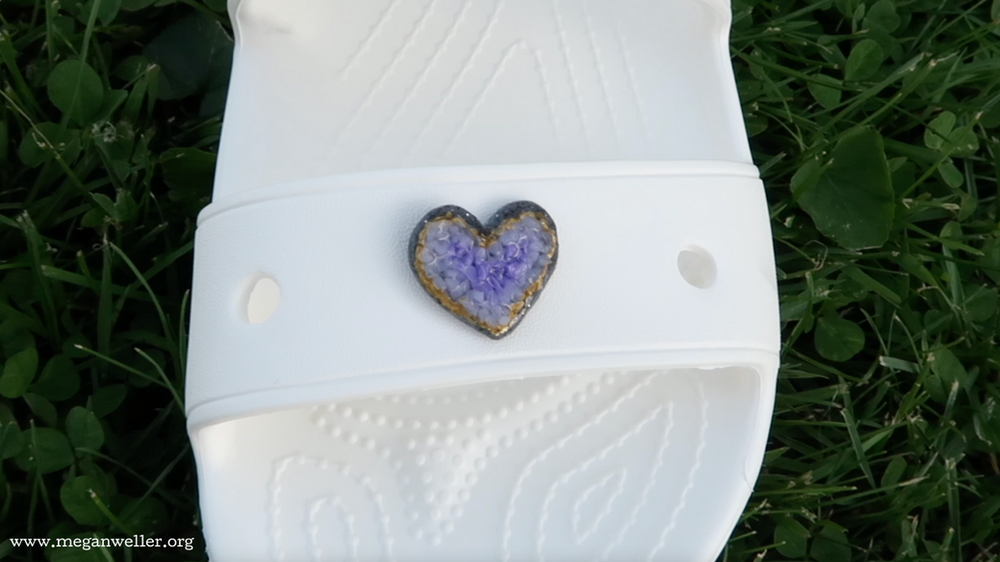
First, we’ll explore the world of polymer clay and show you how to shape and bake your own Jibbitz designs. With polymer clay, you have endless possibilities for creating intricate and detailed charms. We’ll provide tips and techniques for working with this versatile material and guide you through the baking process to ensure your charms are durable and long-lasting. Next, we’ll introduce you to the world of shrinkable plastic, a fun and accessible material that can be used to create vibrant and unique Croc charms. We’ll walk you through the steps of designing, coloring, and shrinking your own plastic charms to fit perfectly on your Crocs.
By the end of this article, you’ll be equipped with the knowledge and inspiration to start making your own Croc charms. Whether you’re a beginner or an experienced crafter, these DIY Jibbitz ideas are sure to spark your creativity and add a personal touch to your favorite pair of Crocs.
Materials Needed for Making Croc Charms
Before you start making your own croc charms, you will need to gather a few materials. These materials can be easily found at craft stores or online. Here is a list of the basic materials needed for this DIY project:
- Plastic Croc charms
- Jump rings
- Pliers
- Scissors
- Glue
- Decorative items or charms
- String or ribbon
Plastic Croc charms are the main component of the croc charms. They come in various shapes, sizes, and colors, allowing you to create different designs. Jump rings are small metal rings that serve as connectors between the croc charm and other decorative items. Pliers are needed to open and close the jump rings securely. Scissors will be useful for cutting the string or ribbon to the desired length. Glue is necessary if you want to attach additional decorative items to the croc charms, such as beads or small trinkets. Lastly, you will need some string or ribbon to hang the charms onto your Crocs.
Once you have gathered all the materials, you are ready to start making your croc charms. Get creative with your designs and have fun experimenting with different combinations of colors and decorations!
Step-by-Step Guide to Making Croc Charms
Are you ready to add some personalized flair to your Crocs? Making your own Croc charms is a fun and creative way to express your style. In this step-by-step guide, we will walk you through the process of making your own Croc charms.
Materials Needed:
- Colored polymer clay
- A set of sculpting tools
- Baking sheet
- Oven
- Jewelry findings (e.g., jump rings, earring hooks)
- Pliers
- Optional: glitter, beads, or other decorative materials
Step 1: Prepare the Clay
Start by choosing your desired colors of polymer clay. Knead and soften the clay until it is pliable. Mix different colors if you want a marbled effect. Get creative and combine colors to match your Crocs or create unique designs.
Step 2: Shape the Charms
Using your sculpting tools, shape the clay into your desired charm design. You can make simple shapes like hearts, stars, or flowers, or get more intricate with designs like animals or letters. Let your imagination run wild!
Step 3: Add Decorative Elements
If you want to add some extra sparkle or texture to your charms, now is the time. Dust some glitter onto the clay or press beads into the surface. You can also use your sculpting tools to create patterns or textures on the clay.
Step 4: Bake the Charms

Preheat your oven according to the directions on the polymer clay package. Place your charms on a baking sheet and bake them for the recommended time. Once they are done baking, let them cool completely before moving on to the next step.
Step 5: Attach Jewelry Findings
Using pliers, attach jump rings or earring hooks to the charms. Make sure they are secure and won’t easily come loose. You can also attach other types of jewelry findings like brooch pins or keychain rings, depending on how you want to use your charms.
Step 6: Personalize Your Crocs!
Now that your charms are ready to go, it’s time to attach them to your Crocs. Simply slide the charms onto the holes in your Crocs’ straps and arrange them as desired. You can mix and match different charms to create unique looks or switch them out depending on your mood.
With this step-by-step guide, you’ll be able to create your own Croc charms in no time. Let your creativity shine and show off your unique style with these DIY charms!