
Having a beautifully framed photo can instantly add a stylish and personalized touch to any space. Instead of buying a generic photo frame from a store, why not try making your own? Not only is it a fun and creative project, but it also allows you to customize the frame to match your decor and personal style. In this article, we will explore five different ways you can make your own photo frame, using a variety of materials and techniques.
1. Popsicle Stick Frame: One of the simplest and most popular DIY photo frame ideas is to use popsicle sticks. All you need are some popsicle sticks, glue, and paint or markers. Arrange the sticks in a square or rectangular shape, gluing them together at the corners. Once the glue dries, you can paint or decorate the sticks in any way you like. You can even add some beads or buttons for added texture and interest.
2. Washi Tape Frame: Washi tape is a decorative adhesive tape that comes in a wide variety of colors and patterns. It’s perfect for creating a unique and eye-catching photo frame. To make a washi tape frame, start by selecting a plain picture frame as your base. Then, apply strips of washi tape in a crisscross pattern on the frame, or create a geometric design by placing the tape in straight lines. You can mix and match different patterns and colors to create a truly personalized frame.
3. Recycled Magazine Frame: If you have old magazines lying around, why not upcycle them into a one-of-a-kind photo frame? Cut out interesting images, colorful pages, or text from the magazines and arrange them on a plain frame using glue. You can create a collage effect by overlapping the images or go for a more mosaic-like design. Once the glue dries, you can apply a layer of mod podge to seal the frame and give it a glossy finish.
4. Seashell Frame: If you have a beach or nautical theme in your home, a seashell frame can be the perfect addition. Start by finding various shapes and sizes of seashells, and then use a hot glue gun to attach them to a plain picture frame. You can arrange the shells in a symmetrical pattern or create a random design for a more organic look. To add a pop of color, you can also paint the seashells with acrylic paint before attaching them to the frame.
5. Fabric-Covered Frame: If you have some leftover fabric or a favorite patterned fabric that you love, why not use it to create a fabric-covered photo frame? Start by selecting a plain frame and measuring the dimensions. Cut the fabric to size, leaving a bit of extra fabric on each side. Use fabric glue or a hot glue gun to attach the fabric to the frame, smoothing out any wrinkles or creases. Trim any excess fabric and let the glue dry completely. The result will be a unique and stylish frame that adds a cozy touch to your photos.
DIY Rustic Wooden Photo Frame
If you are looking for a unique and rustic way to display your favorite photos, a DIY rustic wooden photo frame is the perfect project for you. This project is simple enough for beginners but also allows for customization and creativity. Plus, it adds a farmhouse or rustic touch to any room.
To start, gather the materials you need:
- Wooden boards
- Saw
- Sandpaper
- Nails or screws
- Hammer or screwdriver
- Wood stain or paint
- Brush or foam roller
- Measuring tape
First, measure and cut the wooden boards to the desired size of your photo frame. You will need four pieces for the sides of the frame and two pieces for the top and bottom. Remember to account for the overlap of the corners when measuring the length of the frame sides.
Next, sand the edges and surfaces of the wooden boards to create a smooth finish. You can also distress the wood for a more rustic look by lightly sanding the corners and edges. Be sure to wipe away any sawdust before proceeding.
Now, it’s time to assemble the frame. Lay out the boards in the desired shape and use nails or screws to secure them together. You can choose to overlap the boards at the corners for a more unique and rustic look, or you can use mitered joints for a cleaner finish.
Once the frame is assembled, you can choose to apply a wood stain or paint to enhance the rustic look. Use a brush or foam roller to evenly apply the stain or paint, and allow it to dry according to the product instructions. You can also distress the frame further by sanding the painted surface lightly.
Finally, attach a backing material such as cardboard or plywood to the back of the frame to hold the photo and a glass or plastic sheet to protect it. Secure the backing material with nails or screws, and your DIY rustic wooden photo frame is ready to display your favorite memories.
Creative Recycled Paper Photo Frame
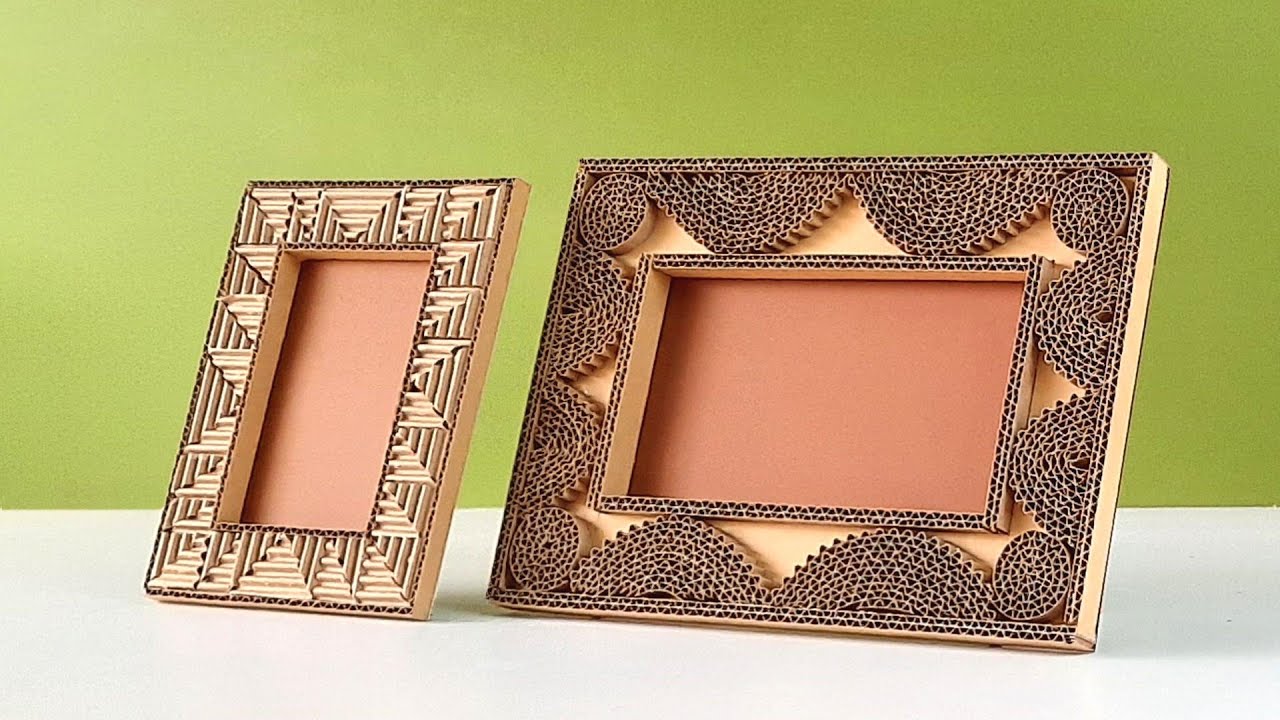
If you’re looking for a creative and eco-friendly way to display your favorite photographs, a recycled paper photo frame is a perfect choice. Not only is it a fun and unique project, but it also helps reduce waste and gives new life to old materials.
To make a recycled paper photo frame, you will need a few simple materials such as old newspapers or magazines, scissors, glue, and decorative items like ribbons or buttons. Start by cutting out two rectangular pieces of paper or cardboard in the size you want for your frame. These will serve as the front and back panels of the frame.
- Next, take some old newspapers or magazines and cut them into long strips. You can use colored or patterned paper for a more vibrant look.
- Apply glue to one side of the paper strips and start wrapping them around the edges of the front panel, overlapping slightly to create a layered effect. Repeat this step with the back panel.
- Once the glue has dried and the panels are covered with paper strips, you can further enhance the frame’s design by adding decorative elements. For example, you can glue ribbons along the edges or attach buttons to the corners.
- Finally, cut out a smaller rectangle from the center of the front panel to create a space for the photograph. Make sure it is slightly smaller than your picture so that it can be easily inserted and secured.
Once your paper photo frame is complete, you can display it on a shelf or table, or even hang it on the wall using a string or hook. It’s a great way to add a personal touch to your living space and showcase your favorite memories in an eco-friendly manner. Plus, it’s a fun and inexpensive DIY project that you can enjoy with friends or family.
Elegant Lace and Ribbon Photo Frame
If you’re looking to add a touch of elegance to your photo frame collection, look no further than the elegant lace and ribbon photo frame. This DIY project is perfect for those who love a romantic and vintage-inspired aesthetic. With just a few simple materials and steps, you can create a stunning photo frame that will showcase your favorite memories in style.
To start, gather your materials. You will need a plain wooden or plastic photo frame, lace trim or fabric, ribbon in a coordinating color, a hot glue gun, scissors, and any additional embellishments you’d like to add, such as pearls or flowers. Make sure the frame is clean and free from any dust or debris before getting started.
Begin by measuring and cutting the lace trim or fabric to fit around the edges of the photo frame. You can either choose to cover the entire frame or just certain sections, depending on your preference. Apply a small amount of hot glue to one end of the lace and attach it to the frame, pressing firmly to ensure it sticks. Continue gluing the lace around the edges of the frame until it is completely covered.
Next, take the ribbon and wrap it around the frame vertically or horizontally, securing it with hot glue as you go. This will add an additional layer of texture and visual interest to the frame. Feel free to experiment with different widths and patterns of ribbon to achieve the desired look.
Once the lace and ribbon are secure, you can further customize your photo frame with embellishments. Use hot glue to attach pearls, flowers, or any other decorations to the frame. Be sure to arrange them in a way that complements the lace and ribbon and adds to the overall elegance of the frame.
Once all the glue is dry and the embellishments are secure, your elegant lace and ribbon photo frame is ready to be displayed. Simply insert your favorite photo and enjoy the beautiful, romantic vibe it adds to any room. This DIY project is perfect for creating personalized gifts or adding a touch of sophistication to your home decor.
Colorful Pom Pom Photo Frame

If you want to add a pop of color and fun to your photos, then a colorful pom pom photo frame is a perfect option. This DIY project is easy to make and allows you to personalize your photo frame with your favorite colors and patterns.
To make a colorful pom pom photo frame, you will need a wooden or cardboard frame, colorful pom poms, glue, scissors, and any additional decorations you’d like to add such as ribbons or stickers.
Instructions:
- Start by choosing the color scheme for your photo frame. You can use a monochromatic color scheme or mix and match different colors for a vibrant look.
- Apply a generous amount of glue to one section of the frame.
- Place the pom poms onto the glue, pressing them down gently to ensure they stick. Repeat this process for the remaining sections of the frame, alternating the colors as desired.
- Allow the glue to dry completely before moving on to the next step.
- Once the glue is dry, trim any excess pom poms that are sticking out with scissors.
- If desired, add any additional decorations such as ribbons or stickers to further personalize your photo frame.
- Finally, insert your favorite photo into the frame and display it proudly!
With just a few simple steps, you can create a colorful pom pom photo frame that adds a playful touch to your photos. This DIY project is a great way to showcase your creativity and add a fun element to your home decor or gift for a loved one.